Wednesday, September 8, 2010

Diorama - Update #2

I let the drywall putty dry for close to 24 hours, and although I won't call it a complete failure, I will say that it's not the results that I had hoped for. The problem I have found using the drywall putty is that it didn't adhere very well to the styrofoam board, so it peels off in big flakes in some areas.

On the positive side, it's easy to work with, it was very easy to sand and carving the bricks into the lower corner was a breeze...

I'm going to go ahead and finish this one with the materials I have purchased, however I think I'll start researching a better way to coat the styrofoam.


Tuesday, September 7, 2010

Diorama update #1

From my prior interests in making a photo backdrop or diorama, I knew up front that working with styrofoam had some challenges or obstacles. The first being that you have to coat the styrofoam with something before it can be painted.

I did some reading today and I found two ways that people coat their styrofoam...(1) by using basic drywall putty and (2) by using latex paint to coat it.

Lets do the math... drywall putty -$4.99 for the medium container. Latex paint - $18.99 for a gallon.

For today's update, I chose the more economical way and went with the medium container of drywall putty. I basically just took a plastic putty knife ($0.79) and started smearing on the putty, once it's dry my goal is to lightly sand all of the high ridges down until it's all smooth.

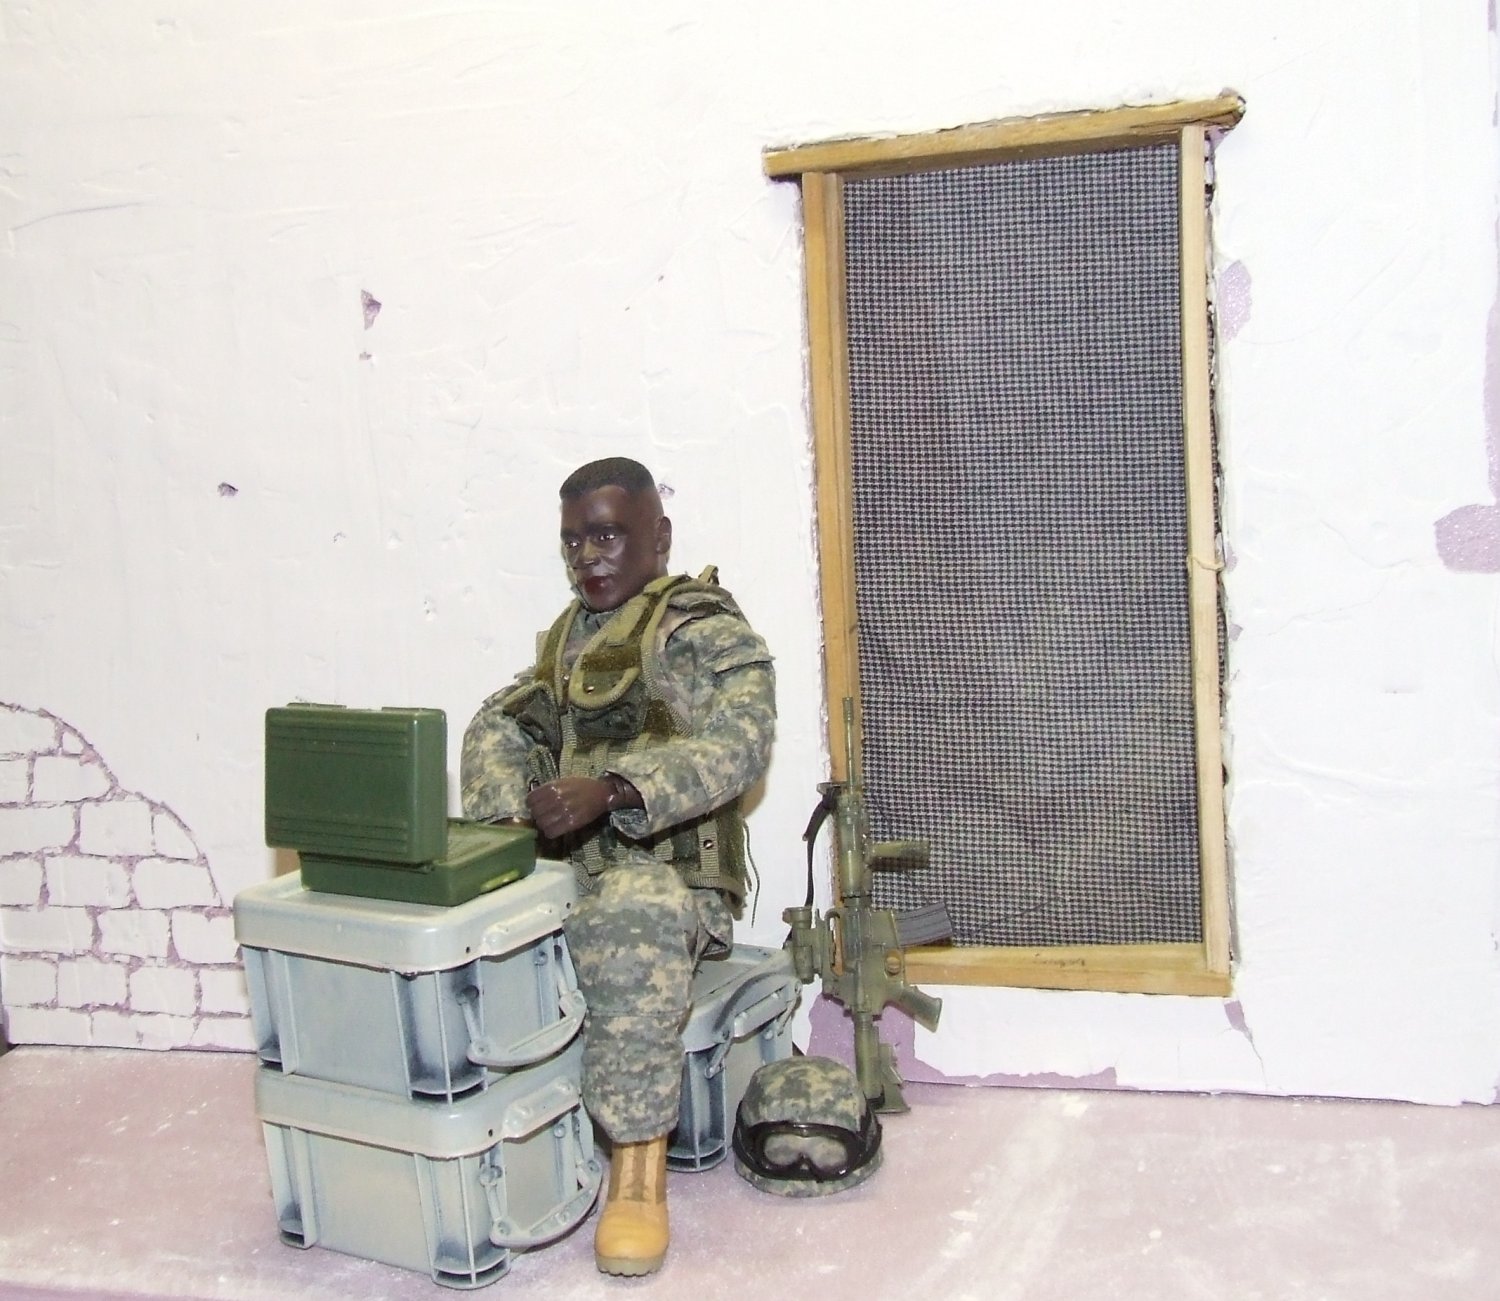
Picture below is after the putty has been drying for a couple hours.


Hopefully when I get home tomorrow, I can start sanding and fitting in the wood frame work for the door. Thanks for looking...
I've decided to attempt my first diorama to use as a back drop for my figures when I photograph them. I decided to use the 1/2" styrofoam insulation board. I purchased an 8' x 4' x 1/2" sheet from my local Home Depot for $11.84.

I want to take my time and learn how to make nice dioramas, and at the same time try out several tutorials that have been posted around the web on how to do this. I'll take some pictures as I go and document what works and what doesn't.

For my first attempt, I have cut (2) 20" x 20" squares, one will be the backdrop the other will be the ground. I decided I want to have a door in the backdrop, so in the picture below, I have in the outline for a door. I based this off of a picture from an Afghanistan mud home, and the door is supposed to be smaller than the average door.

Here's what I have so far....


Thanks for looking....